Access your Home Assistant securely with MTLS
Home Assistant is a great platform for home automation, but it can be vulnerable to attacks if not properly secured. Having a secure connection to your Home Assistant is crucial for protecting your privacy and data.
If you are exposing your Home Assistant to the internet, you need to make sure that the connection is secure. This is where MTLS comes in.
What is MTLS?
MTLS stands for Mutual TLS and is a security protocol that ensures that the connection between the client and the server is secure.
Unlike regular TLS, which you most likely know from HTTPS connections and is used to sign the responses sent from servers, MTLS takes it a step further and also signs the requests sent from the client to the server to verify its identity.
How does it work?
Setup:
- Issue Certificate: A CA (Certificate Authority) that is trusted by the server, issues and signs a Client Certificate.
- Install Certificate: Each client that wants to connect to the server, needs to install this Client Certificate to be able to sign outgoing HTTP requests.
HTTP Request:
- Application submits request: An Application submits an HTTP request to a server.
- Sign the request: The client signs the request with the Client Certificate to verify its identity.
- Send request: The client sends the request to the server.
- Server verifies request: The server receives the request and verifies the signature against the CA to validate the client's identity.
- Handle request: If the signature can be verified, the server handles the request and sends a response back to the client.
Cloudflare Tunnel
In this guide I will be using Cloudflare to expose my Home Assistant to the internet and secure the connection with MTLS certificates.
Prerequisites
- A free Cloudflare account (or a paid one)
- A domain name linked to your Cloudflare account
- WebSockets enabled for your domain on Cloudflare
Create a tunnel
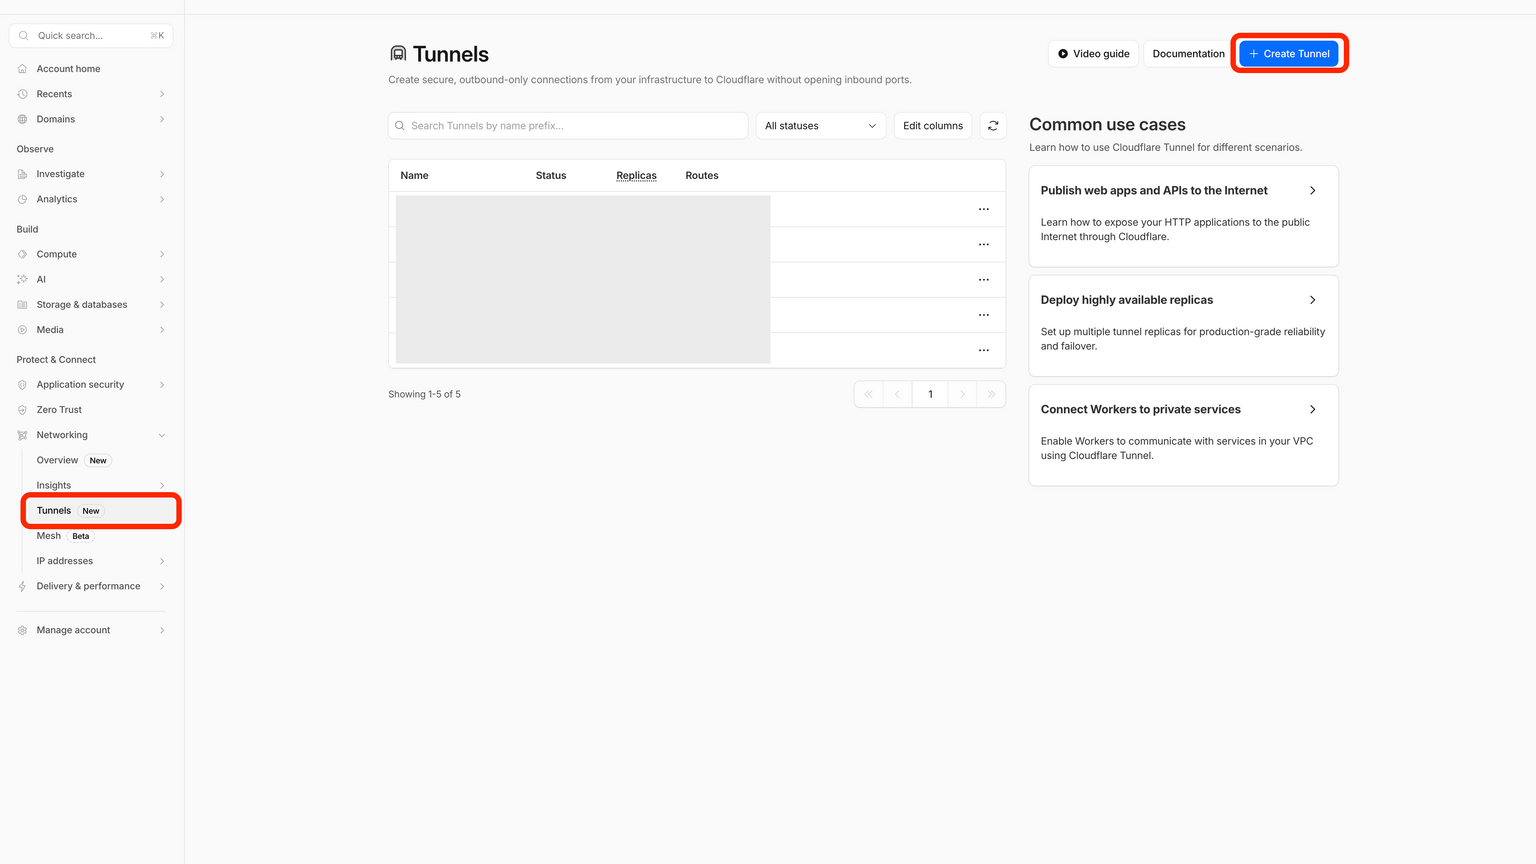
- Login to your Cloudflare account and navigate to the Tunnels section.
- Click on "Create Tunnel" and follow the instructions.
- Once the tunnel is created, you will be given a token.
- Copy the token and save it for later.


- Go back to the tunnel overview and select the tunnel you just created. On the tunnel page, click Add a public hostname.
- For Service URL enter the URL of your Home Assistant instance, including protocol (http://) and the port number (8123). Optionally, you can add a subdomain.


-
In the Cloudflare SSL Settings, set the SSL Encryption mode to Full (strict).
-
On the Certificate Settings Page, set Always Use HTTPS to Yes.
Install the Cloudflare Tunnel agent on your Home Assistant server
- Install the Cloudflared add-on on your Home Assistant server.
- In the add-on configuration, paste the token you saved earlier and enter your domain name.
- Start the add-on and wait for it to be ready.


- To allow access to the Home Assistant instance from Cloudflare, you must trust the Cloudflare proxy.
Add this to your
configuration.yamlfile:
http:
  use_x_forwarded_for: true
  trusted_proxies:
- 172.30.33.0/24- Restart Home Assistant.
- Verify that the Cloudflare Tunnel Agent is running.
You should now be able to access your Home Assistant instance from the internet using the domain name you added to the Cloudflare Tunnel.
Client certificate
Generate a CSR (Certificate Signing Request)
This step is technically optional, but it's a good idea to generate a CSR (Certificate Signing Request) to be able to differentiate between different certificates later.
- Generate a CSR using the following command in your terminal:
# Replace [your-org-name] and [your-device-name] with your own values
openssl req -new -newkey rsa:2048 -nodes -keyout device.key -out device.csr -subj "/C=CH/O=[your-org-name]/CN=[your-device-name]"
Two files will be generated:
device.key- The private key for the certificatedevice.csr- The CSR file for requesting the certificate from the CA
Upload the CSR to Cloudflare to get a certificate
Navigate to Cloudflare Client Certificates and click Add Client Certificate.
- On the first step, choose the following:
-
Certificate Authority: Cloudflare Managed CA
-
Private Key and Certificate Signing Request (CSR): Use my private key and CSR file
-
Certificate Signing Request (CSR): Paste the contents of your CSR file into the textarea.
-
Certificate Validity: Select a validity period for the certificate.
-
Click Continue
- In the second step you can see the certificate that has been generated.
-
Choose PEM as the key format
-
Save the certificate to a file called
device.pem. -
Click Continue
- Associate the certificate with a domain:
-
When you are prompted to associate the certificate with a hostname, select the domain you set up for the tunnel in the previous step.
-
Click Save
Create a WAF rule
We need to set up a WAF rule to block requests that are not signed with the correct certificate.
Navigate to Cloudflare WAF and click Create Security Rule.


-
Give your rule a name
-
Select Edit Rule Expression to add the following expression:
(http.host eq "[your-domain]") and
(not cf.tls_client_auth.cert_verified or cf.tls_client_auth.cert_revoked)
In the fields below, set the following:
- Then take action: Block
- Place at: Last
Click Deploy
If you now try to access your Home Assistant instance without a valid certificate, you should see a blocked page.


Prepare the certificate
Before we can install the certificate on our device, we need to convert it to a format that can be used by the device.
# Replace device.key with the key file generated along side the CSR
# Replace device.pem with the file containing the certificate from Cloudflare
openssl pkcs12 -export -out device.p12 -inkey device.key -in device.pem -name "[your-device-name]"
You will be prompted to enter a password for the certificate. This is the password that will be used to decrypt the certificate when it is installed on the device.
Once run, you will have a new file called device.p12 which contains the certificate and key in a format that can be used by the device.
Install the certificate
iOS
- Transfer the
device.p12file to your iOS device using a file transfer app like AirDrop or Dropbox. - Tap the file and install the certificate.
- Open the Settings app and navigate to General -> VPN & Device Management -> Tap your certificate.
- You will be prompted to enter the password you set earlier.
- Tap Install
macOS
- Transfer the
device.p12file to your macOS device using a file transfer app like AirDrop or Dropbox. - Double click the file to open it.
- You will be prompted to enter the password you set earlier.
- Click Install
Android
For Android the install process varies depending on the device and the operating system. Search for "install client certificate", followed by your device and operating system version to find the correct instructions for your device.
Add the certificate to your Home Assistant app
- Open the Home Assistant Settings
- Go to Companion App
- Select your server from the list
- In the section Client Certificate add the
device.p12file and enter the password you set earlier.
You should now be able to access your Home Assistant instance from the internet using the domain name you added to the Cloudflare Tunnel.